Virtual reality felt like a luxury when I started exploring it. High-end headsets like the HTC Vive or Oculus Rift cost hundreds of dollars. The barrier to entry was high — expensive hardware, platform-specific development, complex 3D engines. Then I discovered WebVR and A-Frame, and everything changed.
This talk at Universidad Remington was about bringing VR to a university audience — students, developers, and curious minds who might not have a gaming PC or a $500 headset. The web is the most accessible distribution platform we have. If you can make VR work in a browser, you can reach anyone with a smartphone and a $15 Cardboard viewer.
Before diving into the tech, I started by inviting the audience to join the local tech communities in Pereira: Sirius, PyPereira, Pereira Tech Talks, PereiraJs. These communities are where real learning happens — through meetups, workshops, and shared projects.
VR, AR, and Mixed Reality
First, the definitions:
Virtual Reality (VR) — A fully immersive digital environment. You put on a headset and you’re somewhere else. The real world disappears. Examples: exploring a virtual museum, walking through an architectural model, playing a game in a 3D world.
Augmented Reality (AR) — Digital elements overlaid on the real world. You see your surroundings, but with added information or objects. Examples: Pokémon GO, furniture preview apps, navigation overlays.
Mixed Reality (MR) — A blend of VR and AR where digital and physical objects interact. Digital objects can occlude real ones, and vice versa. Examples: Microsoft HoloLens experiences, advanced AR apps with spatial awareness.
The hardware landscape in 2019 ranged from expensive to accessible:
- High-end: HTC Vive (
$500+), Oculus Rift ($400), Sony PlayStation VR (~$300) - Mid-range: Oculus Go (
$200), Samsung Gear VR ($130), Google Daydream (~$79) - Accessible: Google Cardboard (
$7), generic VR Box viewers ($15)
That price gap is huge. If VR development required a $500 headset, it would stay niche. But with Cardboard, anyone with a smartphone can try it. Mass distribution changes the game. That’s where the web comes in.
Why WebVR?
The web is the most important mass distribution platform. No app stores, no installation, no platform gatekeeping. Just a URL. If VR can run in a browser, it becomes accessible to billions of devices.
WebVR (now evolved into WebXR) is the W3C standard that defines the APIs a browser must expose to create VR experiences. It handles:
- Device detection (headsets, controllers)
- Pose tracking (head position, rotation)
- Stereoscopic rendering (left/right eye views)
- Input handling (gaze, controllers, voice)
Most WebVR experiences weigh less than 2 MB. Compare that to a native VR app, which can be hundreds of megabytes. You load a URL, and you’re in VR. No download, no wait.
You don’t need to learn new technologies. If you know HTML and JavaScript, you can build VR. A-Frame makes it even easier by letting you define 3D scenes with HTML-like syntax. Under the hood, A-Frame uses Three.js, a popular 3D library built on WebGL. If you already know Three.js or WebGL, adding WebVR support is just a bit of code. If you don’t, A-Frame abstracts the complexity.
A-Frame: Entity-Component System
A-Frame is a framework for building VR experiences with web technologies. It uses an Entity-Component System (ECS) architecture, borrowed from game engines:
Entities — Container objects that components attach to. Think of an entity as a “thing” in the scene: a box, a light, a camera, a sound. Entities define what exists.
Components — Reusable modules that provide appearance, behavior, or functionality. Components define how entities look and act. Examples: geometry, material, position, rotation, light, sound.
Systems — Global managers that handle logic for all instances of a component. Systems are less common in simple scenes but useful for optimization and shared state.
Here’s a simple A-Frame scene:
<html>
  <head>
    <script src="https://aframe.io/releases/1.0.4/aframe.min.js"></script>
  </head>
  <body>
    <a-scene>
      <a-box position="-1 0.5 -3" rotation="0 45 0" color="#4CC3D9"></a-box>
      <a-sphere position="0 1.25 -5" radius="1.25" color="#EF2D5E"></a-sphere>
      <a-cylinder position="1 0.75 -3" radius="0.5" height="1.5" color="#FFC65D"></a-cylinder>
      <a-plane position="0 0 -4" rotation="-90 0 0" width="4" height="4" color="#7BC8A4"></a-plane>
      <a-sky color="#ECECEC"></a-sky>
    </a-scene>
  </body>
</html>
That’s it. Open it in a browser, and you’re in a 3D scene. Click the VR button, and it switches to stereo mode for Cardboard or a headset. No build step, no complex setup.
A-Frame also has an inspector (press Ctrl+Alt+I while viewing a scene) that lets you inspect and tweak entities in real time. It’s like browser DevTools for VR.
Coordinate System
A-Frame uses a right-handed coordinate system:
- X-axis: Left (-) to right (+)
- Y-axis: Down (-) to up (+)
- Z-axis: Forward (-) to backward (+)
Position is in meters. position="0 1.6 -2" means: at origin horizontally, 1.6 meters up (roughly eye height), and 2 meters forward into the scene.
Understanding this matters for placing objects naturally and designing comfortable VR experiences.
The Demos
I showed over 20 live demos to illustrate A-Frame’s capabilities, from primitives to full projects:
Primitives — Basic shapes: boxes, spheres, cylinders, planes. CodePen demo
Sky and equirectangular images — 360° photos as backgrounds. CodePen demo. You can grab free 360° images from A-Frame Registry.
Textures — Applying images to surfaces. CodePen demo
Stats and attributes — Tweaking position, rotation, scale dynamically. CodePen demo
Camera animation — Moving the viewpoint programmatically. CodePen demo
Torus — A donut shape. CodePen demo
Text and multiple animations — 3D text with chained animations. CodePen demo
Assets — Loading and reusing resources efficiently. CodePen demo
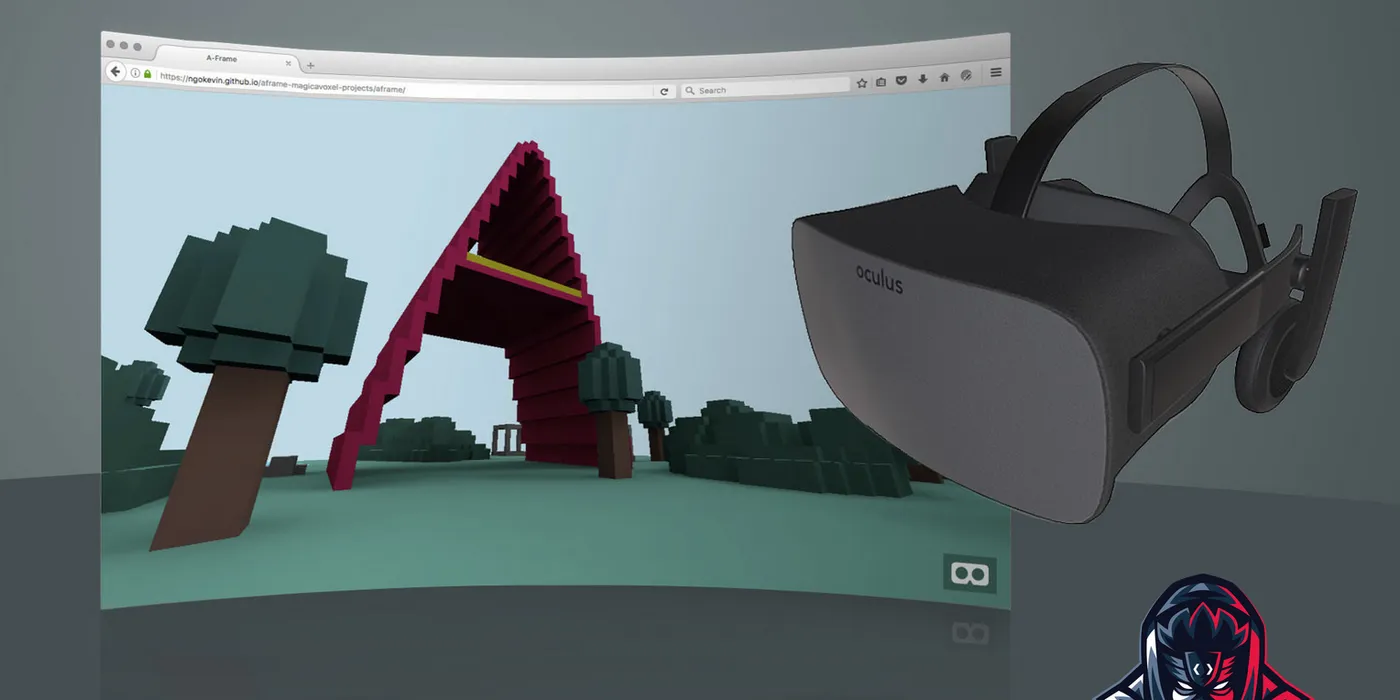
3D models (Collada) — Importing .dae files from tools like Blender, SketchUp, or Clara.io. CodePen demo. Free models: 3D Warehouse, Clara.io, Blender.
Videos — 360° video playback. CodePen demo
Audio — Spatial sound that changes based on your position. CodePen demo
Cursor events — Gaze-based interaction (look at something to trigger it). CodePen demo
Cursor shapes — Custom cursor visuals. CodePen demo
A-Frame events — Listening to and dispatching custom events. CodePen demo
Gallery — A walkable 360° photo gallery. GitHub repo
Physics (Cannon.js) — Adding gravity and collisions. CodePen demo
Sun component — Dynamic lighting with a moving sun. CodePen demo
Collisions — Detecting when objects touch. CodePen demo
Maze — A navigable maze with collision detection. GitHub repo
Speech recognition — Voice commands in VR using the Web Speech API. CodePen demo. Inspiration: Storyteller by Pablo Zajdband
What Resonated with the Audience
The energy in the room shifted when people realized they didn’t need expensive hardware to try VR. A few students had Cardboard viewers. One pulled out a phone and loaded one of the demos. Seeing someone in the room experiencing VR they could build themselves was the aha moment.
The combination of accessibility (web + Cardboard) and simplicity (HTML-based syntax) made VR feel achievable, not aspirational. That’s what I wanted — to lower the barrier and invite people to experiment.
Inspiration and Credits
These projects influenced my demos and approach:
- A-Painter — Mozilla’s VR painting app. Simple, beautiful, browser-based.
- A-Frame City Builder — Build cities in VR.
- Mini Mike’s Metro Minis — A playful VR toy train simulation.
- Platzi — Web VR Course — Excellent Spanish-language course on WebVR.
- A-Frame React — Integrating A-Frame with React for component-driven VR.
Virtual reality doesn’t have to be expensive or exclusive. The web democratizes access. A-Frame makes creation approachable. Anyone with a browser can experience VR. Anyone with basic web skills can build it.
That’s the power of WebVR — not just immersive experiences, but accessible immersive experiences. VR for everyone, built with the tools we already know.
Let’s keep building.